This post is about setting things up and getting unit testing (PHPUnit) and functional testing (Selenium) working for doing PHP development in XAMPP and Netbeans.
I assume you are already using XAMPP. The steps to installing PHPUnit and Selenium (both client and server):
1. Open Command Prompt. Change directory to c:/xampp/php/pear
2. pear clear-cache
3. pear channel-discover pear.phpunit.de
4. pear install channel://pear.phpunit.de/PHPUnit
5. pear install phpunit/PHPUnit_Selenium
6. Goto http://seleniumhq.org/download/ and download the lastet selenium server. You can place it anywhere you want. The selenium server can be started using the command java -jar pathtoselenium-server.jar
7. Install Selenium Module for PHP plugin in Netbeans.
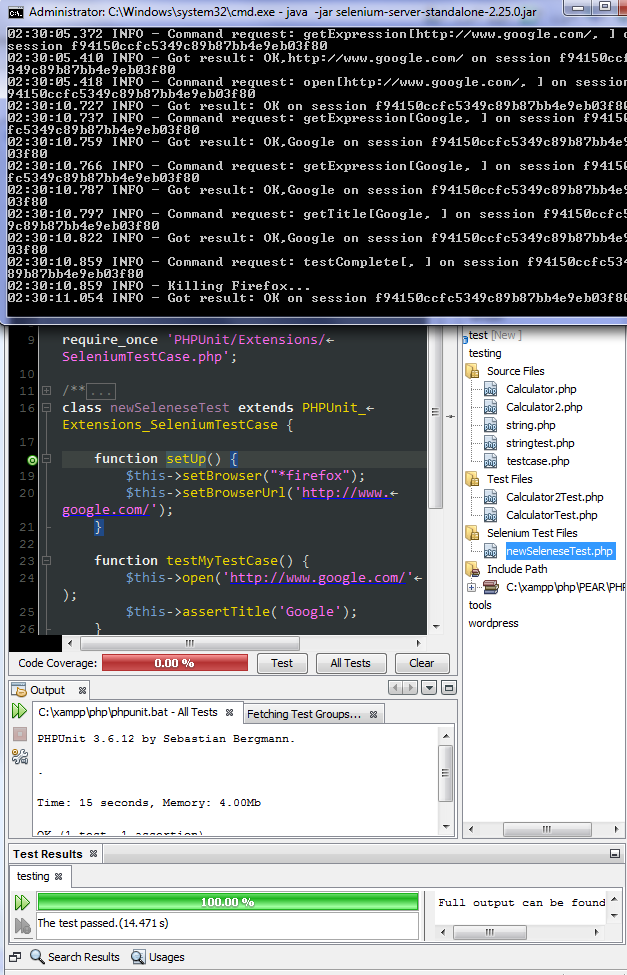
8. Write and run your tests! Here’s the end result you’ve been waiting for!

[Notes]
There’s also a “Selenium Server” plugin available in Netbeans that takes care of installing the Selenium Server and make sure it’s start-up everytime Netbeans is turned-on.
Personally, I didn’t get very far with the it as I kept on getting the following error message while testing
Invalid response while accessing the Selenium Server at ‘http://localhost:4444/selenium-server/driver/’: Failed to start new browser session: Error while launching browser errors messages
The reason might be it’s using an older version of Selenium Server (2.16.1) (source) while the latest version at the time of writing is 2.25.0.
In the end, I opt for manually starting Selenium Server through a *.bat (or you can use command prompt each time too) instead of using the Netbeans Selenium Server plugin.
[References]
http://pear.phpunit.de/
http://netbeans.org/kb/docs/php/phpunit.html (note that I didn’t install testing_selenium-beta, I followed what’s in http://www.phpunit.de/manual/current/en/selenium.html and installed the Selenium Module for PHP plugin in Netbeans instead.
Leave a Reply